It started with a $10 find at an estate sale in suburban Ohio. Tucked behind a box of VHS tapes and a dusty bread maker was a heavy oval mirror with an ornate wooden frame — chipped, painted over in beige, and completely ignored by everyone else in the room. Six hours, a handful of supplies from Home Depot, and a DIY tutorial later, that forgotten mirror was listed on Etsy for $195. It sold in three days.
That’s the magic of vintage mirror makeovers — and thousands of thrifters across the US are catching on.
Amid rising home decor prices and a renewed appreciation for sustainability, the DIY mirror makeover movement has exploded. According to ThredUp’s 2025 Resale Report, approximately 70% of US millennials thrift regularly, citing both budget and environmental motivations. And mirrors — heavy, beautiful, abundant at thrift stores — are among the best-kept secrets of the upcycled home decor world.
Whether your style leans farmhouse cozy, boho eclectic, or timeless shabby chic, vintage mirror makeovers offer something no IKEA flat-pack ever could: character, history, and a one-of-a-kind statement piece made by you, for a fraction of the retail cost.
In this guide, you’ll discover exactly how to source thrift store mirrors, what supplies you need, and how to execute three stunning before-and-after mirror transformations — step by step. Let’s turn your next thrift find into a treasure.
Why Thrift Vintage Mirrors? The Case for Secondhand Frames
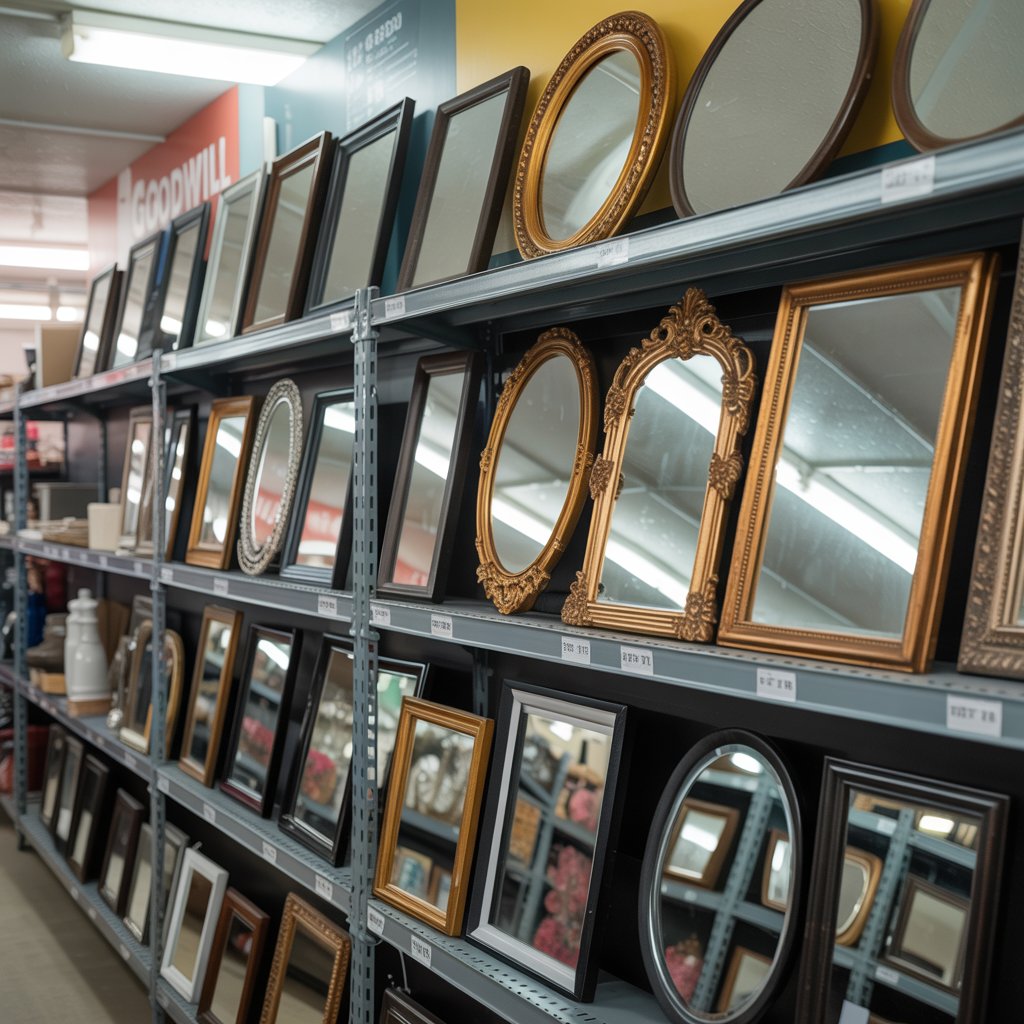
Walk into any Goodwill, Habitat for Humanity ReStore, Salvation Army, or weekend garage sale, and you’ll almost always find mirrors. They’re donated constantly — too big for a new apartment, too old-fashioned for a flipped house, too “grandma” for someone’s updated aesthetic. That’s your opportunity.
Where to find thrift store mirrors in the US:
- Goodwill & Salvation Army — Consistent inventory, usually priced $5–$25
- Habitat for Humanity ReStore — Great for larger architectural mirrors and framed pieces
- Estate sales — Gold mines for ornate antique mirror frames with real craftsmanship
- Facebook Marketplace & Craigslist — Often free or under $15 for local pickup
- Garage & yard sales — Negotiable prices, sometimes exceptional finds
The appeal goes beyond price. Thrift store mirrors often feature shapes and craftsmanship simply unavailable at big-box retailers — deep carved frames, scalloped edges, arched silhouettes, heavy beveled glass. These are the bones of a truly stunning DIY mirror makeover.
| Mirror Type | Thrift Price Range | Makeover Potential |
|---|---|---|
| Oval Vanity Mirror | $5–$15 | Farmhouse or boho wall mirror |
| Arched Hallway Mirror | $10–$25 | Gold leaf mirror gilding |
| Distressed Wood Frame | $8–$20 | Shabby chic refinishing |
| Ornate Gilt Frame | $10–$30 | Antique mirror restoration or modern black repaint |
| Simple Rectangular Frame | $5–$12 | Farmhouse black & white makeover |
Watch out for: cracked or severely clouded glass (costly to replace), frames with structural damage (not just cosmetic), or missing mirror hardware. Minor peeling, dull paint, and surface scratches? That’s nothing a little prep work can’t handle — and those are exactly the mirrors you want.
Essential Tools & Materials for DIY Mirror Makeovers
Good news: you don’t need a workshop or a big budget to pull off stunning vintage mirror makeovers. Most of these supplies are available at Amazon, Home Depot, or Walmart, and a full starter kit runs under $50.
Prep Tools
- Screwdriver set (for removing hanging hardware)
- 120-grit and 220-grit sandpaper or a sanding block
- Painter’s tape (3M ScotchBlue is excellent for protecting glass edges)
- Tack cloth or lint-free rags
- Mild dish soap and water for cleaning
Paints & Primers
- Chalk paint (Annie Sloan or Rust-Oleum Chalked — both widely available in the US)
- Spray primer (Rust-Oleum Clean Metal Primer for smooth finishes)
- Milk paint (Miss Mustard Seed brand for authentic matte farmhouse looks)
- Black spray paint (Rust-Oleum Matte Black for sleek modern finishes)
Finishes & Special Techniques
- Dark wax or clear finishing wax (for sealing chalk paint)
- Gold leaf sheets and sizing adhesive (for boho gilding projects)
- Dry brush for distressing effects
- Soft burnishing brush
Safety Gear
- Nitrile gloves
- Safety glasses when sanding
- Ventilation mask when spray painting
Total investment for a full supply kit: approximately $35–$50. Once you have the basics, each individual mirror makeover costs as little as $5–$15 in materials.
Makeover #1: The Shabby Chic Thrift Mirror

The shabby chic mirror tutorial is where most DIY beginners start — and for good reason. Chalk paint is forgiving, the distressing technique hides imperfections beautifully, and the finished result looks authentically vintage rather than painted-over. This farmhouse mirror DIY works especially well on oval vanity mirrors and ornate wooden frames.
What you’ll need: Chalk paint in white or cream, sandpaper (120 and 220 grit), painter’s tape, dark wax, a chip brush, and a soft cloth.
Step-by-Step:
Step 1: Clean the Frame Wipe down the entire frame with a damp cloth and mild dish soap. Remove all grease, dust, and residue. Let it dry completely — at least 30 minutes. Skipping this step is the #1 cause of peeling paint down the road.
Step 2: Tape Off the Glass Use painter’s tape along the inside edge of the frame to protect the mirror glass. Press the tape edge down firmly so chalk paint doesn’t seep underneath.
Step 3: Sand Lightly If the frame has existing glossy paint or varnish, give it a quick pass with 120-grit sandpaper to help the chalk paint adhere. Wipe away dust with a tack cloth. Chalk paint often skips this step on porous wood, but it’s worth doing for a smoother result.
Step 4: Apply Chalk Paint in Two Coats Using a chip brush, apply chalk paint in thin, even strokes. Work with the grain of the wood when possible. Let the first coat dry fully (about 45 minutes), then apply a second coat. Don’t worry about perfect coverage — some variation adds charm to the final look.
Step 5: Distress with Sandpaper Once the second coat is dry, use 220-grit sandpaper to lightly sand raised areas, edges, and carved details. This reveals the original wood or paint beneath, creating that signature aged, worn look. Go gently — you can always sand more, but you can’t sand less.
Step 6: Apply Dark Wax Using a soft cloth or wax brush, apply a thin layer of dark wax over the entire frame. Work it into carved grooves and details. Immediately wipe away the excess with a clean cloth. The wax deepens shadows, adds an antique quality, and seals the chalk paint for durability.
Common mistakes to avoid: Over-sanding close to the glass (scratches!), applying wax too thickly, and skipping the cleaning step. Take your time — this whole project takes about 3–4 hours including drying time, and the result is a genuinely stunning antique mirror restoration at almost zero cost.
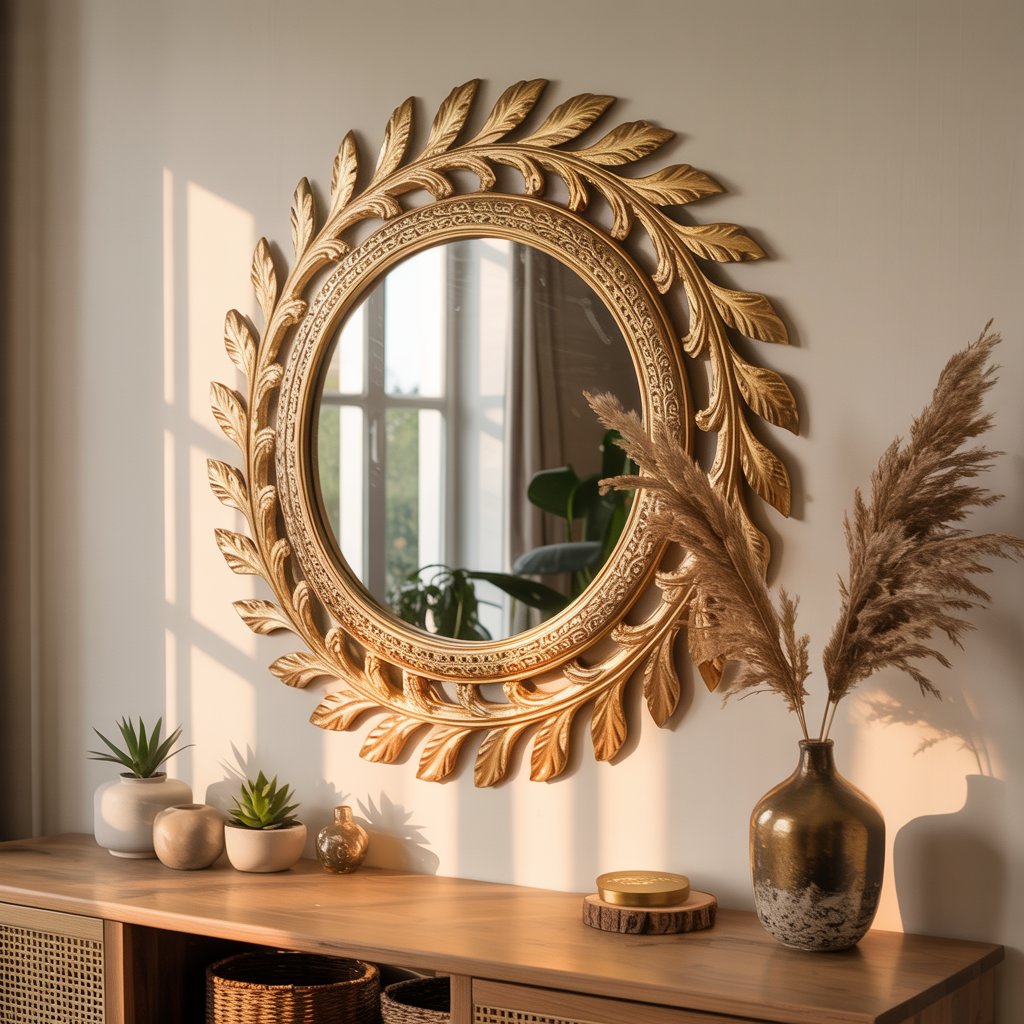
Makeover #2: The Gold Leaf Boho Mirror Transformation
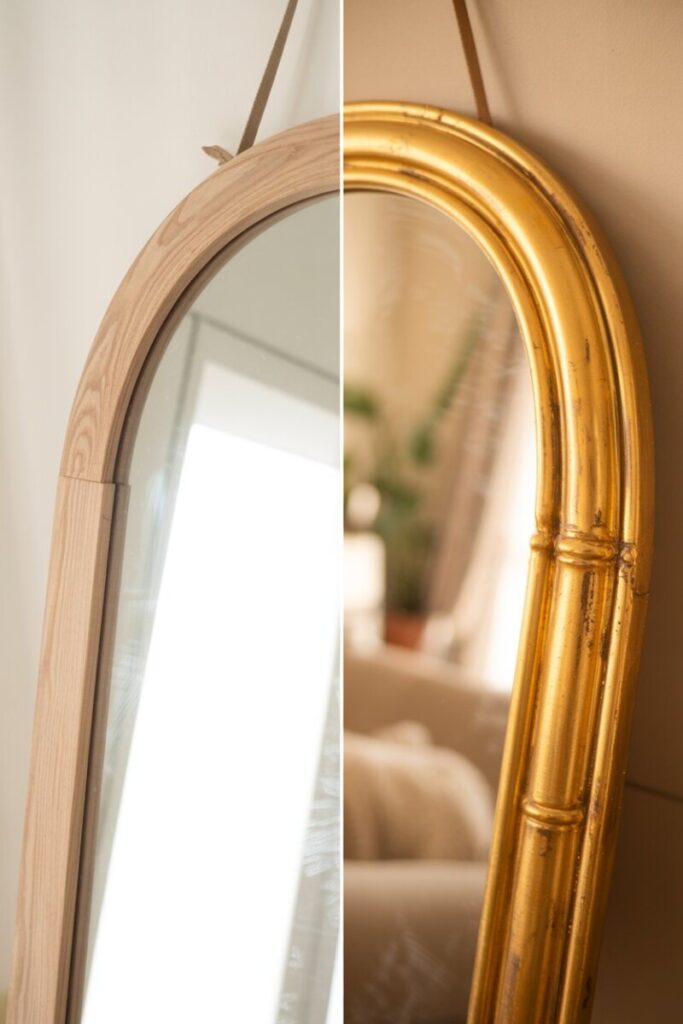
Gold leaf gilding has exploded on TikTok and Pinterest in the past two years, and it’s easy to see why. The effect is breathtaking — warm, luxurious, and utterly unique. Applied to a thrift-store arched or rectangular mirror, gold leaf transforms even the plainest frame into a boho mirror centerpiece worthy of a design magazine spread.
What you’ll need: Gold leaf sheets (imitation gold leaf is budget-friendly and widely available on Amazon), metal leaf adhesive/sizing, a soft natural-hair brush for burnishing, a base coat paint in warm ochre or burnt sienna, and a topcoat sealer.
Step-by-Step:
Step 1: Apply a Base Coat Paint the entire frame in a warm base color — burnt sienna, deep ochre, or even dark brown. This base shows through gaps in the gold leaf, creating depth and an intentionally imperfect, organic finish that’s central to the boho aesthetic. Let it dry completely.
Step 2: Brush on the Sizing (Adhesive) Using a clean brush, apply a thin, even layer of gold leaf sizing over the sections you want gilded. Work in manageable sections — the sizing becomes tacky (ready for leaf) in about 15–30 minutes depending on the brand and humidity. Check the package instructions for the exact working window.
Step 3: Apply Gold Leaf Sheets When the sizing is at the right tack (it should feel slightly sticky but not wet), gently lay a sheet of gold leaf over the frame and press softly with your fingers or a dry brush. The leaf adheres to the sizing and tears naturally at the edges, creating an organic, textured effect. Work section by section across the frame.
Step 4: Burnish the Leaf Using a soft burnishing brush, gently smooth the gold leaf against the frame surface. This improves adhesion and brings out the metallic luster. Brush away any loose flakes with a clean brush.
Step 5: Seal with a Topcoat Apply a thin coat of matte or satin sealer (Mod Podge or a dedicated gilding sealer works well) over the entire gilded surface to protect it from flaking over time.
Safety note: Gold leaf flakes are very fine and airborne — work in a low-draft area and avoid breathing flakes. Imitation leaf is not toxic, but a dust mask is smart.
The finished boho mirror transformation pairs beautifully with rattan furniture, layered textiles, and warm-toned gallery walls. This is the kind of piece that makes guests ask, “Where did you get that?”
Makeover #3: The Farmhouse Black & White Mirror
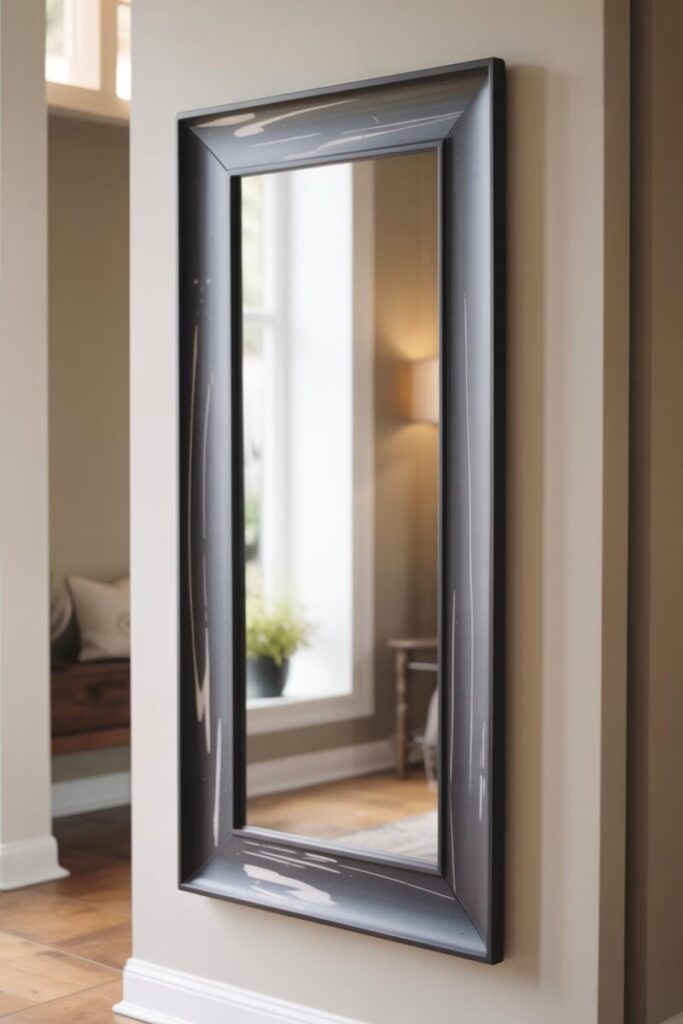
Not every vintage mirror makeover needs to be soft and romantic. This clean, modern take gives thrifted frames a bold new identity that works beautifully in farmhouse-style entryways, bathrooms, and mudrooms.
What you’ll need: Black milk paint (Miss Mustard Seed or General Finishes Lamp Black), a small amount of white chalk paint for dry-brushing, a chip brush, sandpaper, and matte finishing wax.
Step-by-Step:
Step 1: Prep and prime the frame as described in Makeover #1. Sand lightly to scuff the surface.
Step 2: Apply two coats of black milk paint, letting each coat dry fully. Milk paint has a slightly matte, chalky finish that reads as genuinely old rather than simply painted — ideal for antique mirror frame refinishing with a modern edge.
Step 3: Dry-brush white chalk paint over raised areas and edges. Dip your brush lightly in white chalk paint, wipe most of it off on a paper towel until the brush is nearly dry, then drag it quickly across the frame surface. This creates a subtle white highlight that mimics natural wear and light.
Step 4: Seal with matte wax for a protective, low-sheen finish.
Hung in an entryway above a console table with a basket of galoshes and a simple greenery arrangement, this mirror delivers serious farmhouse style for roughly $15 total investment.
Advanced Tips: Mirror Frame Painting Techniques & Troubleshooting
Even experienced DIYers hit snags with vintage mirror makeovers. Here’s how to handle the most common ones:
Gold leaf is flaking after sealing. This usually means the sizing wasn’t tacky enough when you applied the leaf. Sand the area lightly, re-apply sizing, wait for the right tack, and re-gild.
Chalk paint is streaky. You’re applying it too thick. Thin your coats and let each dry fully before adding the next.
Paint got on the glass. Don’t panic — let it dry completely, then use a razor blade glass scraper at a low angle to remove it cleanly without scratching. This is why painter’s tape is worth the extra five minutes.
The mirror is too heavy for its old hardware. Thrift store mirrors often come with inadequate or damaged hanging hardware. Replace with heavy-duty D-ring hangers rated for the mirror’s weight, and always anchor into wall studs for mirrors over 15 lbs.
Styling Ideas for Your Upcycled Treasures
Finishing your DIY mirror makeover is just the beginning. Here’s how to style your new piece for maximum impact:
Powder room glam. A gold-leafed oval mirror above a pedestal sink instantly elevates a utilitarian space. Pair with brushed brass fixtures and a simple plant.
Entryway statement. A large, arched farmhouse mirror hung horizontally above a bench creates the illusion of space and adds practical functionality to the busiest room in your home.
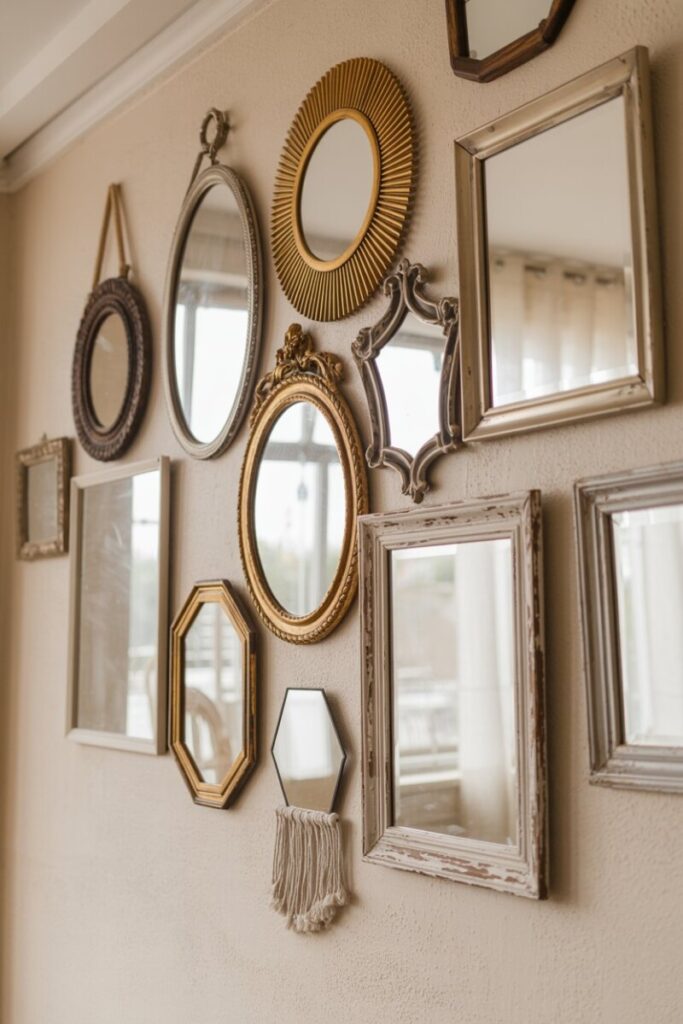
Bedroom gallery wall. Mix two or three makeover mirrors of different sizes and styles for a collected, curated look. Vary heights and lean some against the wall for a relaxed, editorial feel.
Frequently Asked Questions
Can I DIY vintage mirror restoration on a broken frame? Yes, as long as the break is cosmetic and structural integrity remains. Wood glue and clamps can repair most cracks; fill gaps with wood filler before painting.
Is the mirror glass replaceable if it’s damaged? Absolutely. Local glass shops cut replacement mirrors affordably, often for $15–$40 depending on size. This opens up even more thrift finds.
What’s the best paint for mirror frames? Chalk paint is the most beginner-friendly. For durability in high-humidity areas (bathrooms), follow with a hard wax or polyacrylic topcoat.
How long does a full vintage mirror makeover take? Most projects take 4–6 hours spread across a day or weekend, primarily due to drying time between coats.
Conclusion: Your Next Treasure Is Waiting
The beauty of vintage mirror makeovers isn’t just the finished product — it’s the entire arc of the story. A $12 thrift find becomes a conversation piece. A forgotten frame becomes a reflection (pun intended) of your personal style, your creativity, and your commitment to sustainable living.
This weekend, head to your local Goodwill, ReStore, or estate sale. Look past the chipped paint and the outdated finishes. See the bones. See the potential. Because with a few hours and a handful of supplies, your next thrift store mirror can become something truly extraordinary — and someone, somewhere, will ask where you bought it.
Finished your project? Share your before-and-after photos on Instagram and tag #VintageMirrorMakeover. We’d love to see your upcycled treasures. And if you want more DIY inspiration delivered straight to your inbox, subscribe below for weekly thrifted home decor ideas.